Ingredient: The Battle of the Eggs
 Photo: The Kitchn
 Photo: The Kitchn
- makes 12 -
1 1/2 cups warm water (110°F)
2/3 cup instant nonfat dry milk
1/3 cup unsalted melted butter, cooled
3 tablespoons sugar
2 1/4-ounce packages active dry yeast (1 tablespoon plus 1 teaspoon)
1 large egg
2 large egg yolks
5 cups all-purpose flour, plus more for dusting
1 1/2 teaspoons kosher salt
Canola oil, for bowl
2 tablespoons milk
1 tablespoon seeds, such as sesame, poppy, fennel, or cumin, optional
1. Place the warm water, dry milk, butter, and sugar in a large mixing bowl, and stir to combine. Sprinkle the yeast over the mixture, whisk, and let stand until yeast is foamy, about 10 minutes.
2. Add egg, 1 egg yolk, 2 cups flour, and salt; whisk until smooth. Add 2 1/2 cups flour; stir with a wooden. spoon. When mixture becomes too thick to stir, use your hands. Add up to another 1/2 cup flour until dough is tacky when pinched but not sticky. Turn out onto a lightly floured work surface; knead for 1 minute. Let stand 10 minutes.
3. Knead dough again until smooth and elastic, about 5 minutes. Place in a lightly oiled bowl; cover with plastic wrap. Leave in a warm place until doubled in size, about 45 minutes. Punch down dough and divide in half. Cut each half into sixths; form flattened balls. Arrange buns 3 inches apart on parchment-lined baking sheets. Cover; let stand until doubled in size, 45 minutes.
4. Preheat the oven to 400°F. Whisk remaining egg yolk and milk; brush egg wash lightly over buns. Top buns with the seeds, if using. Bake until golden and hollow sounding when tapped, 13 to 15 minutes. Cool on a wire rack. Buns can be frozen in resealable plastic bags up to 2 months.
I’ve heard many peo ple say pizza is like sex — even when its bad, you’re still having pizza. That’s how I feel about burg ers. And a good burger instantly sends me into culi nary eupho ria. One of my favorite burger recipes I’ve devel oped over the years is a twist on gyros, the slow-cooked spiced Greek meat typ i cally served withtzatziki sauce. This burger has been lauded by many friends, includ ing one who swears it caused her to go into labor (on Labor day of all days!). But tonight I decided to take this burger to the next level, and what bet ter way than to stuff it with cheese? In addi tion to twist ing the clas sic burger, tonight we also made french fries out of but ter nut squash. They were crispy and dusted with Parmesan cheese and totally tasty! Keep read ing for more pic tures and the full recipe.
Minted Chèvre Stuffed Gyro Burger
Burger:
1lb ground beef
1 tsp. onion pow der
1 tsp. gar lic pow der
1 tsp. dried mar jo ram
1 tsp. ground rose mary
1 tsp. kosher salt
1/4 tsp. freshly ground black pepperStuffing:
1/4 tsp. fresh mint, finely chopped
3oz. chèvre (goat cheese)
Mix all burger ingre di ents in a small bowl until herbs and spices are well dis tributed through out the beef. Divide into six equal por tions, and form into pat ties roughly 4″ in diameter.
With a fork, mash the mint into the cheese until it is well dis trib uted. Divide into three equal por tions and form into balls.
Flatten one ball of cheese mix ture onto a beef patty until flat.
Top with another patty and make sure the edges are sealed. Make a small indention in the cen ter of the burger with your thumb (this will keep the burger from puff ing up and form ing a giant grilled meat ball). Repeat with remain ing beef and cheese. Allow burg ers to rest at room tem per a ture for 10 minutes.
Grill burg ers over medium-high heat for 6 – 8 min utes flip ping once.
Serve on grilled bun with spinach, tomato, sprouts and tzatziki sauce (recipe).
The fries were really easy. Peel and seed a but ter nut squash and cut into french fry shapes. Toss in olive oil, salt, pep per and Parmesan cheese and cook in a 425º F oven for 40 min utes (or until they brown), flip ping once. We also had some grilled corn on the cob which was fantastic.
Warning, this next photo is not for the faint of heart and really can be con sid ered food porn.
Just look at that melted cheesy good ness ooz ing out of that burger! Delicious!
Posted by Adam Kuban, May 2, 2007 at 12:41 PM
Follow along, step-by-step, in mind-numbing detail. If that's your bag. After the jump.
The takeaway: Since I've not had a true Jucy Lucy from Matt's Bar, I can't say for sure, but making this burger at home is almost more trouble than it's worth. I mean, does it matter if the cheese is on the inside as opposed to above and below the patty? (I think a slice on the top and bottom is awesome.) Furthermore, I always end up overcooking this thing in the interest of getting a good molten core. This is the second time I've made a round of Juicy Looseys, and I always end up cooking them beyond medium-rare. The Flickr pix of the Matt's Bar Jucy Lucys look much better than mine, so perhaps this is a burger best left to the pros.
Also: I've found that my initial adaptation of John T. Edge's recipe worked better for me. In his book, the recipe uses an intact slice of American cheese. In my version, which is based on George "Hamburger America" Motz's observations during a visit to Matt's Bar, I fold the cheese in half twice to make a compact little stack that's easier to sandwich between the dual patties.
OK. As promised, the results.
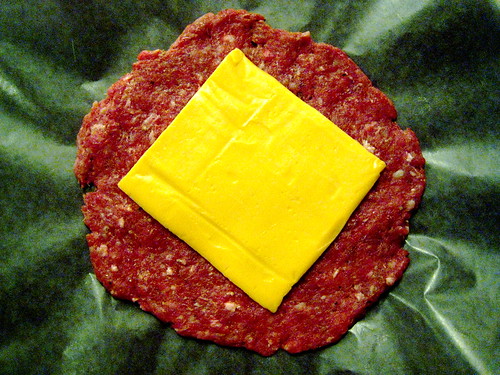
For last night's experiment, I tried two methods of cooking the Juicy Loosey. Here, I left the cheese whole and made the patties larger to accommodate it, as per John T. Edge's recipe in his book Hamburgers & Fries.
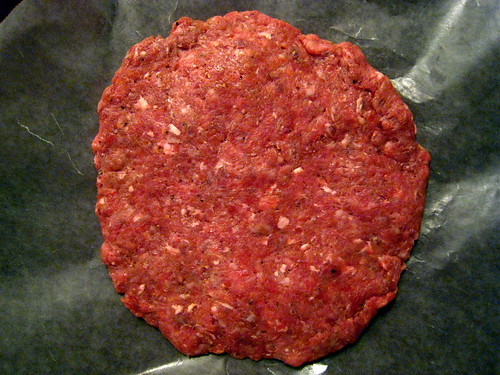
Cover that patty and cheese with a second thin patty, and crimp tightly. This makes a very thin and wide burger. You'd never guess there was a slice of cheese hiding inside.
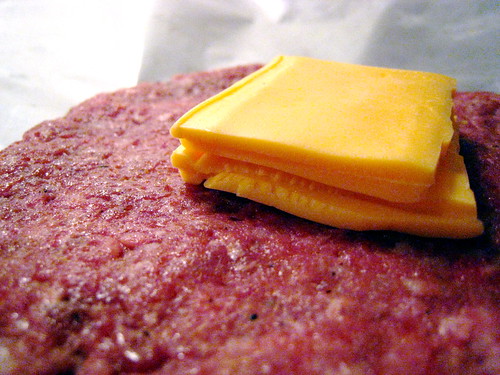
Burger maven George Motz has visited Matt's Bar (home of the original Jucy Lucy) and, contrary to John T. Edge's recipe, said that Matt's folds its cheese as above. I made this one so I could test out both methods.
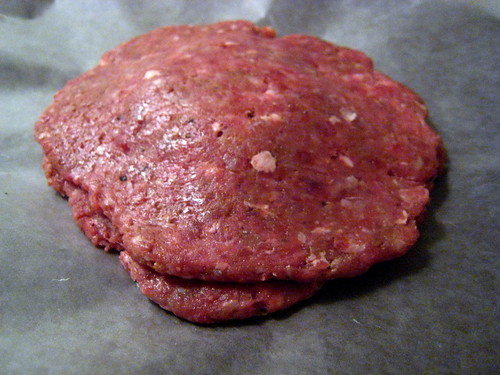
Because the quartered cheese stack has a smaller surface area, I was able to make the patties here smaller and thinner than the intact-cheese version. I thought this might help avoid the dreaded "blowout," as there'd be a thicker layer of meat to keep the gooiness in.
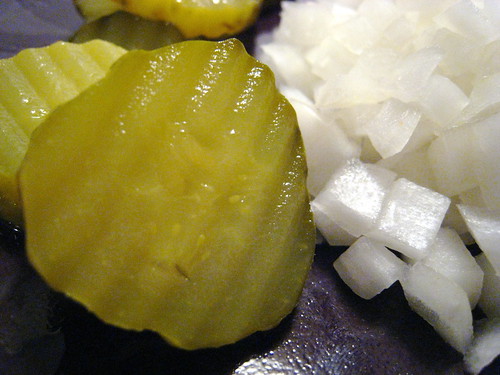
Mise en place: I had my diced onion and pickles ready. (The buns, open face, are out of the frame.) I didn't use condiments for this experiment.

Here, I throw the the first (intact-cheese) burger into the preheated (medium heat) cast-iron skillet and cross my fingers: "No blowouts, no blowouts!"
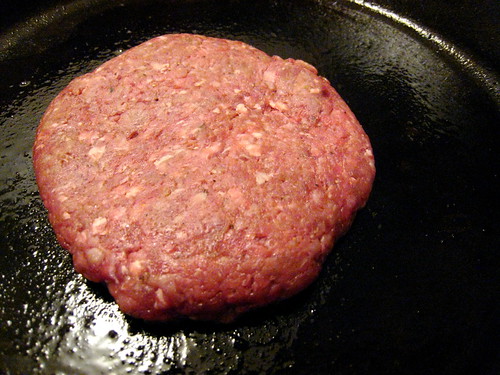
After about 3 minutes on the first side, the patty begins to plump up a little.
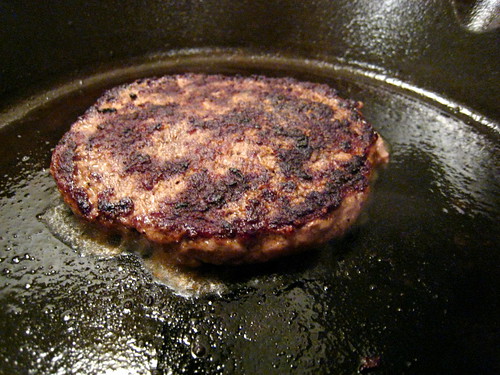
Flipped after about 3.5 minutes. Looks a little overdone, but "3 to 4 minutes for medium" was what Mr. Edge's recipe called for. Next time I'll go more like 2.5 minutes per side.
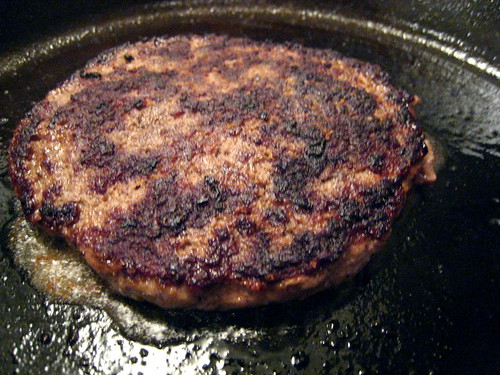
Uh oh. After about a minute on the second side, I think I'm starting to see the signs of a blowout. Is that cheese starting to leak out or just rendered fat?
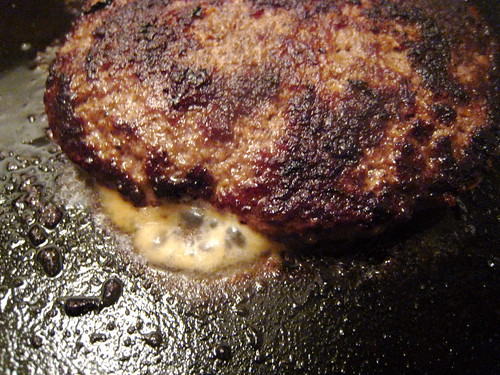
Dammit! It IS a blowout. Lucky for me, it didn't progress much beyond this. Burger maven George Motz had told me that at Matt's Bar, a blowout is a big deal, and they rush to remove such a burger from the grill ASAP -- they don't want the cheese to burn and muck up the griddle.
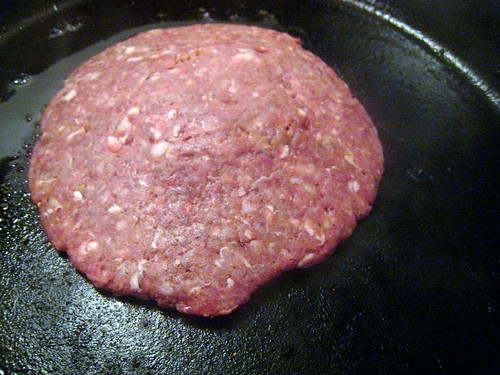
Here's the second patty (quartered, stacked cheese slice), fresh into the skillet. You can see how the taller stack of cheese makes this look like a UFO made of meat.
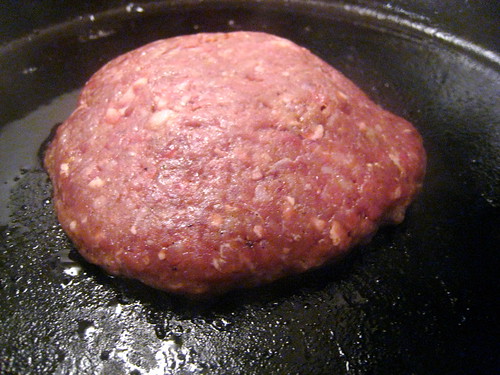
Time lapsed: about 2 minutes. The stacked-cheese patty puffed up a bit more than the flat-cheese patty. The UFO has kinda morphed into Ayers Rock.
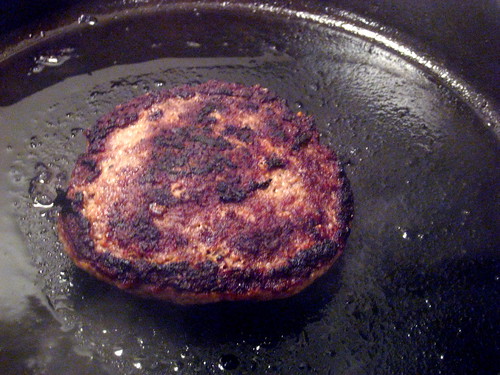
I flipped the stacked-cheese patty, toothpick ready to go in my non-spatula hand. Motz had told me that Matt's pricks its patties immediately after flipping to allow built-up steam to escape. Mine didn't seem to need the poke, so I left it alone.
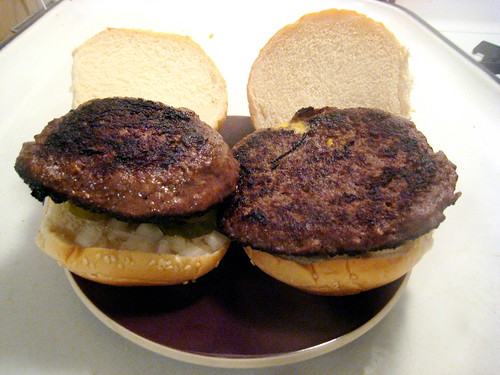
Here's the results of the two methods side by side. Can you guess which is which? Should be pretty obvs. The one on the left is stacked-cheese patty. The one on the right, which is thinner and has more surface area, is the flat-cheese specimen, complete with telltale blowout.
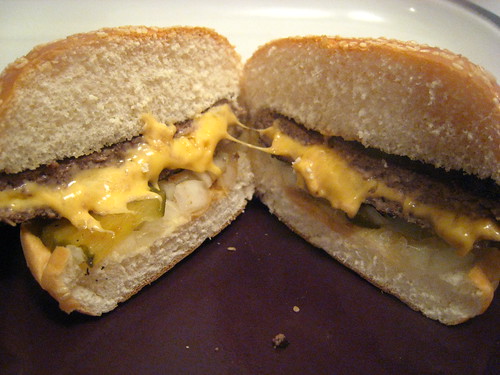
Flat-cheese burger, cross-sectioned.
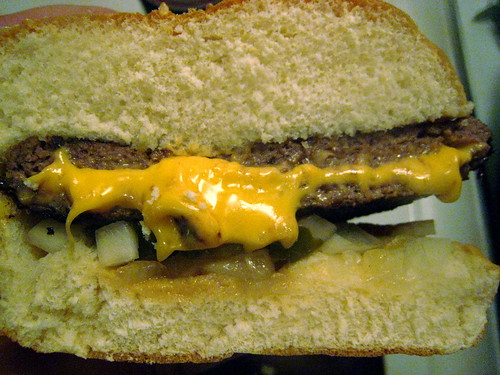
Flat-cheese burger, cross-sectioned and on closer inspection. Cooked to about medium-well, unfortunately.
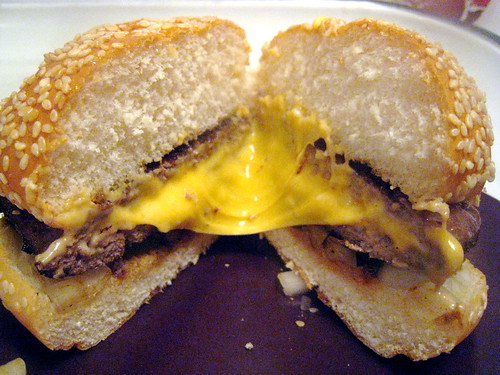
The stacked-cheese burger, cross-sectioned. I think the stacked-cheese one was more successful than the flat-cheese burger.
Still, it's pretty much six of one, half dozen the other. I think this style of burger is better left to the pros. Doesn't seem to matter too much if the cheese is inside or outside the meat, and you end up overcooking this style of burger in the interest of making sure the cheese melts.